The new world of work presents unique challenges in communicating ideas with remote colleagues, sharing feedback, catching up with team members, and building educational experiences for fellow employees, sales prospects, and customers.
Screen recording is a great way to share information with full context and visual references, but is the native Windows screen capture tool enough? If you want the full range of features to personalize and share videos and ideas, a full-featured screen recording tool is the way to go. It frees your creativity from Windows’ tool limitations and reduces the effort of getting your message across quickly and seamlessly.
Loom’s free screen recorder allows you to capture screen and face footage the way you want, annotate your videos for more clarity, and share them without bogging down your laptop.
To learn more, read our step-by-step guide to recording video, audio, and webcam content using your Windows device and Loom’s powerful desktop app or Chrome extension.
How do I record my screen and audio on Microsoft Windows 10 & Windows 11?
With a Windows 10 or 11-enabled computer, you can capture video with the Xbox Game Bar function. This has several basic features that make it easy to record video on demand, geared toward sharing gameplay highlights.
Windows 11 increased its screen recording capabilities in the latest OS update, adding some basic tools for recording video in the snipping app. This is an improvement on the screenshot-only function of earlier versions of the OS. The screen capture functionality offers standard resolution and a customizable screen capture area. This allows you to show screen activity for a single window or your entire display. It doesn’t include audio or webcam capture, so it’s more useful when paired with other video editing software.
How to record your computer screen using the Windows Snipping Tool
The snipping tool can be found in the Windows search bar. While the new update to Windows 11 introduces video capture, please note this function does not record audio simultaneously.
1. To open the snipping tool, click the Windows icon at the bottom of your screen.
2. Type “snipping tool” into the search bar at the top of the menu.
3. In the snipping tool app, select the Record option in the menu ribbon.
4. Select New to create a new recording.
5. Use the border selection tool to delineate the capture area for your video.
6. Click the blue Start button at the top of the screen to begin your recording.
7. Once you’re done recording, press the End button. Your snippet is automatically saved in a specified folder.
How to record your screen using Xbox Game Bar
Windows PC offers gaming-focused screen recording features for its newer OS versions 10 and 11. The system offers voice capture, internal sound capture, and video simultaneously, with video quality of up to 1080p and frame rates of up to 60 frames per second (FPS).
To use these basic features, follow these easy step-by-step instructions:
1. On your Windows 10 or 11 machine, select Settings in the start menu. Then, choose Gaming from the left-side menu and Xbox Game Bar. This will bring you to settings for capturing screen recordings.
2. Toggle the Open Xbox Game Bar using this button on a controller switch to on. This allows you to start recording from your connected Xbox controller during gameplay. You can also use the Windows Logo Key + G keyboard shortcut to open the recording menu.
3. Return to the main Gaming menu. From there, select Captures. In this menu, toggle the Record what happened slider to on. This will allow you to capture highlights of your gaming session without recording the entire session. This setting also allows you to determine the length of buffered gameplay the PC screen recorder will capture from 15 seconds up to the previous 10 minutes.
Xbox console players will note this is similar to Cortana’s Xbox, record that voice command.
Where native Windows screen recording falls short
If you just need to capture a simple video, Windows’s integrated tools will help you accomplish the task. But if you’re looking for more creative control of your recording, the free screen recorder for Windows isn’t your best bet.
These are a few specific areas where Windows 10 and 11 screen recording doesn’t hold up:
Lack of personalization: Windows does a serviceable job recording a short video from your desktop. The tool doesn’t have many options for personalizing or annotating your video. If you want to highlight specific areas of the screen, add captions, overlay illustrations, or use mouse tracking to make instructions easier, you’ll need to choose another platform. Native Windows screen recording does not offer face capture.
No communication features: The native screen recording features in Windows are great for capturing a simple video, but the native app has no options for sharing or communicating about the content. To share a video, users must manually render it and upload it to a hosting platform or share it through email or other communication platforms such as Slack.
No in-app editing features: Windows screen recording can capture and save a video for future editing, but you’ll need a separate tool to edit your video. There are no built-in editing features to customize or polish your video content once you capture the footage.
Limited resolution: Windows screen recording tools have limited options for pixel density, with native capability of 720p or 1080p resolution. The best screen recording tools on the market offer resolutions of HD and 4K.
No actual full-screen capture: The most recent version of screen recording software in Windows 11 does allow the user to set a wide recording boundary, but this is a workaround to true entire screen capture. Other platforms have full-screen settings baked in.
Upgrading your tools: Choosing the right Windows screen recorder app
Third-party screen recording software can be a great addition to any content creator’s toolbox. It’s all about picking the right tool. Here are a few alternatives to Windows 10 and 11 out-of-the-box screen recording features and how they compare:
Windows vs. Loom
Loom is a cloud-based screen recording software that allows users to quickly and easily record, edit, and share video recordings. It has several features that make it an ideal choice for recording when you need features and flexibility beyond those offered on the Windows native screen capture app. It’s perfect for brainstorming with colleagues, communicating with clients, or making sales calls and videos remotely.
1. Comprehensive editing suite: Loom includes professional-grade editing tools such as trimming, split-screening, annotations, and more. It also offers high-quality audio recording options, backgrounds, and picture-in-picture settings to show screen capture and direct-to-camera (DTC) presentations simultaneously. You can also stitch together multiple videos to capture all the information you want to share.
2. Multiple quality options: Loom allows you to record up to 1080p with the Google Chrome screen recorder extension and HD or 4K resolution using the desktop app for Windows and Mac. This ensures your recorded content looks crisp and clean on any device or platform.
3. True full-screen capture: Loom's full-screen capture feature eliminates the need to tweak settings or manually set recording boundaries each time you want to capture video.
4. Communication tools: Loom is more than just a capture tool. The app allows you to share videos instantly and effortlessly. It also allows your recipients to respond to your content with feedback, comments, and even emojis. Loom is an interactive tool that connects people to share ideas.
5. Hosting capabilities: Loom’s cloud-based platform offers hosting capabilities to save and share your content right in your video library. This eliminates rendering and uploading your video capture to a separate platform.
6. Capture beyond the desktop: Windows screen capture limits your creativity to the desktop. With Loom, users can capture video on any device they use to work and create. Loom offers mobile apps with built-in editing and sharing features for newer iOS and Android devices in addition to desktop and browser-based capture.
7. Embedded content: Loom makes it easy to present your videos in any format that works for you. You can even embed a Loom on a landing page or a website to share your message with a broader audience.
Want the functionality of Loom on your Mac device? You can screen record on a Mac just as easily as on your Windows machine.
Windows vs. OBS Studio
OBS Studio is a free, open-source screen recording software for Windows, MacOS, and Linux machines. It offers a broad range of features to fit the needs of those looking to capture video footage, webcam, and audio.
This free software tool features many settings and capabilities that native Windows screen recording doesn’t support. Here are some of the top features for capturing video from a desktop or laptop:
Audio/video capture
Collaboration tools
File management
Multi-screen recording features
On-demand recording
Direct upload to YouTube
4K resolution
Live-streaming capabilities
Plug-ins and API integrations
OBS does introduce a learning curve that Windows doesn’t, but for your efforts, you’ll have many more features for creating clear, professional screen recordings.
Windows vs. Vidyard
Vidyard is a professional screen recording software focused on online video sharing for sales, marketing, and enterprise audiences. The platform has both free and paid versions that offer competitive capabilities. Vidyard offers more features than traditional Windows-based tools, with advanced video and audio capture capabilities, video file management, built-in tools for editing, presentation enhancements, and collaboration features.
Video playlists (stitch together multiple videos)
View notifications
AI video script generator
Viewer insights and data
Quick editing/trimming features
Animated (GIF) video previews
Integrations for sales platforms
Video hosting and embed
Video chapter/section creation
Auto transcription
Security and access controls
How does Vidyard measure up to Loom? Find out in this quick comparison.
Windows vs. Zoom
While Zoom isn’t strictly a video capture service, the platform has evolved to offer several features for sharing meeting content and information more easily (and potentially stave off Zoom fatigue from too many meetings). Zoom is primarily used to make remote meetings and communication easier, with features to record a presentation and share post-meeting videos individually or through an embedded video on a website or pre-recorded webinar platform.
Record and save remote meetings
Create Zoom Clips of edited video and screen captures for sharing short content segments
Cloud-based video storage and sharing features
Webinar tools for one-to-many broadcasts and replays
Zoom is great for connecting with colleagues in ways Windows can’t accomplish on its own, but if you’re looking to create video for asynchronous sharing and communication, Windows doesn’t accomplish this natively.
How to screen record on Windows 10 and 11 with Loom
If you’re looking for the most features and flexibility to record and share video directly from your Windows machine, Loom delivers everything you need in a streamlined, app-based experience with the convenience of cloud-based storage and delivery.
Loom makes recording and sharing short videos with colleagues, prospects, teams, and community members easy through any Windows 10 or 11 desktop or laptop.
To record and share Loom with Windows, follow these simple steps:
1. Sign up for a Loom account—it’s fast and free!
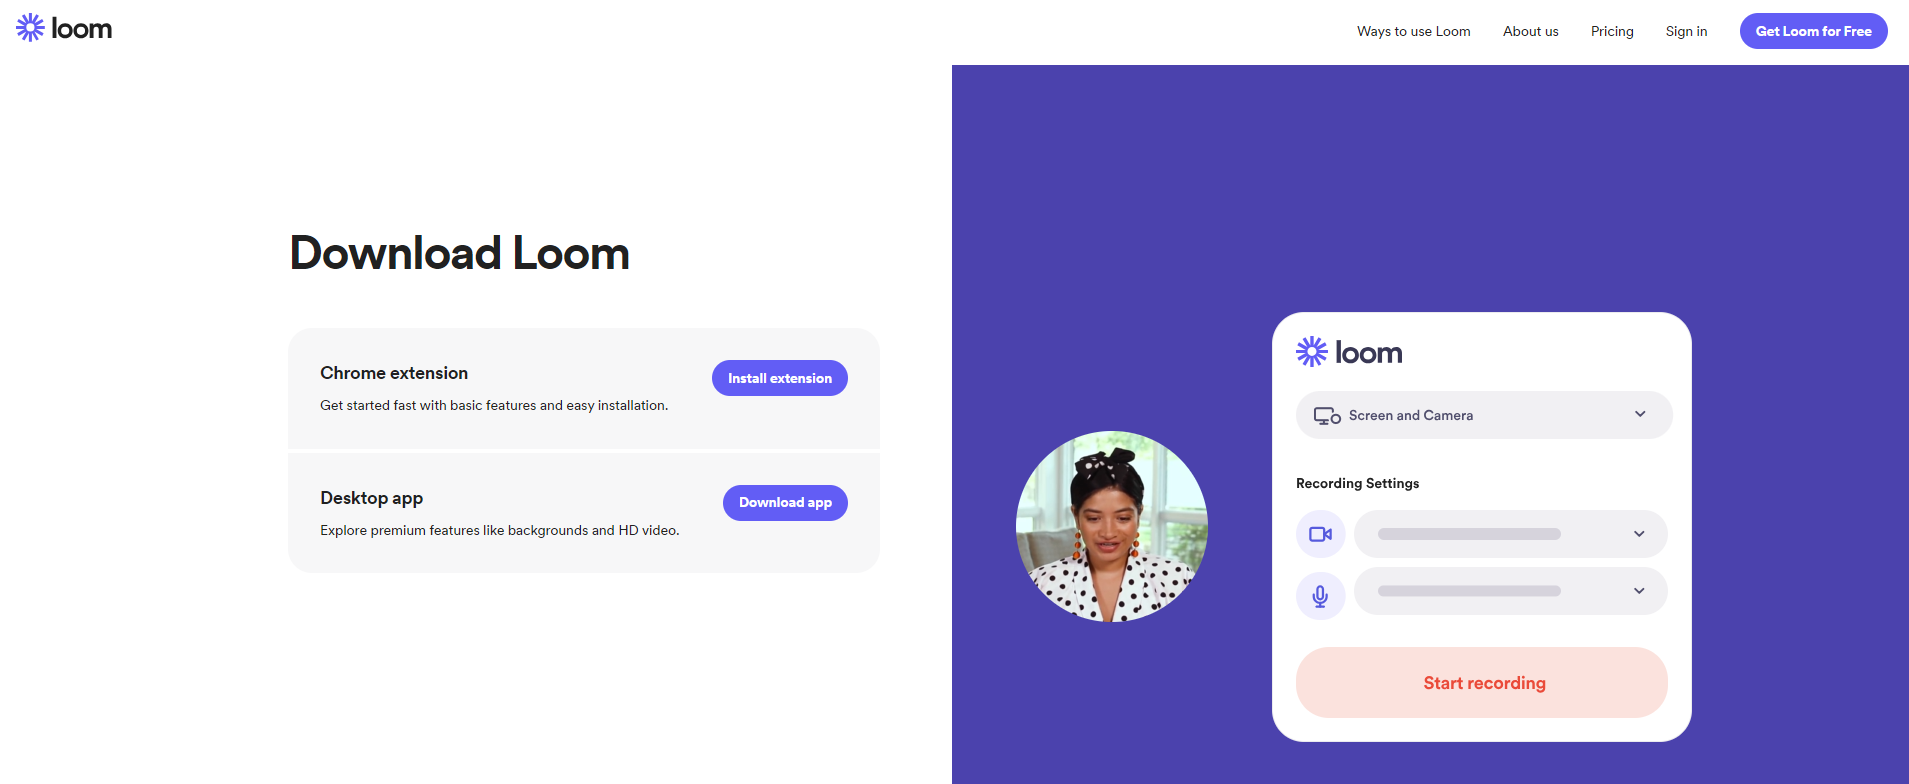
2. Download the Loom for Windows App or the Chrome extension.

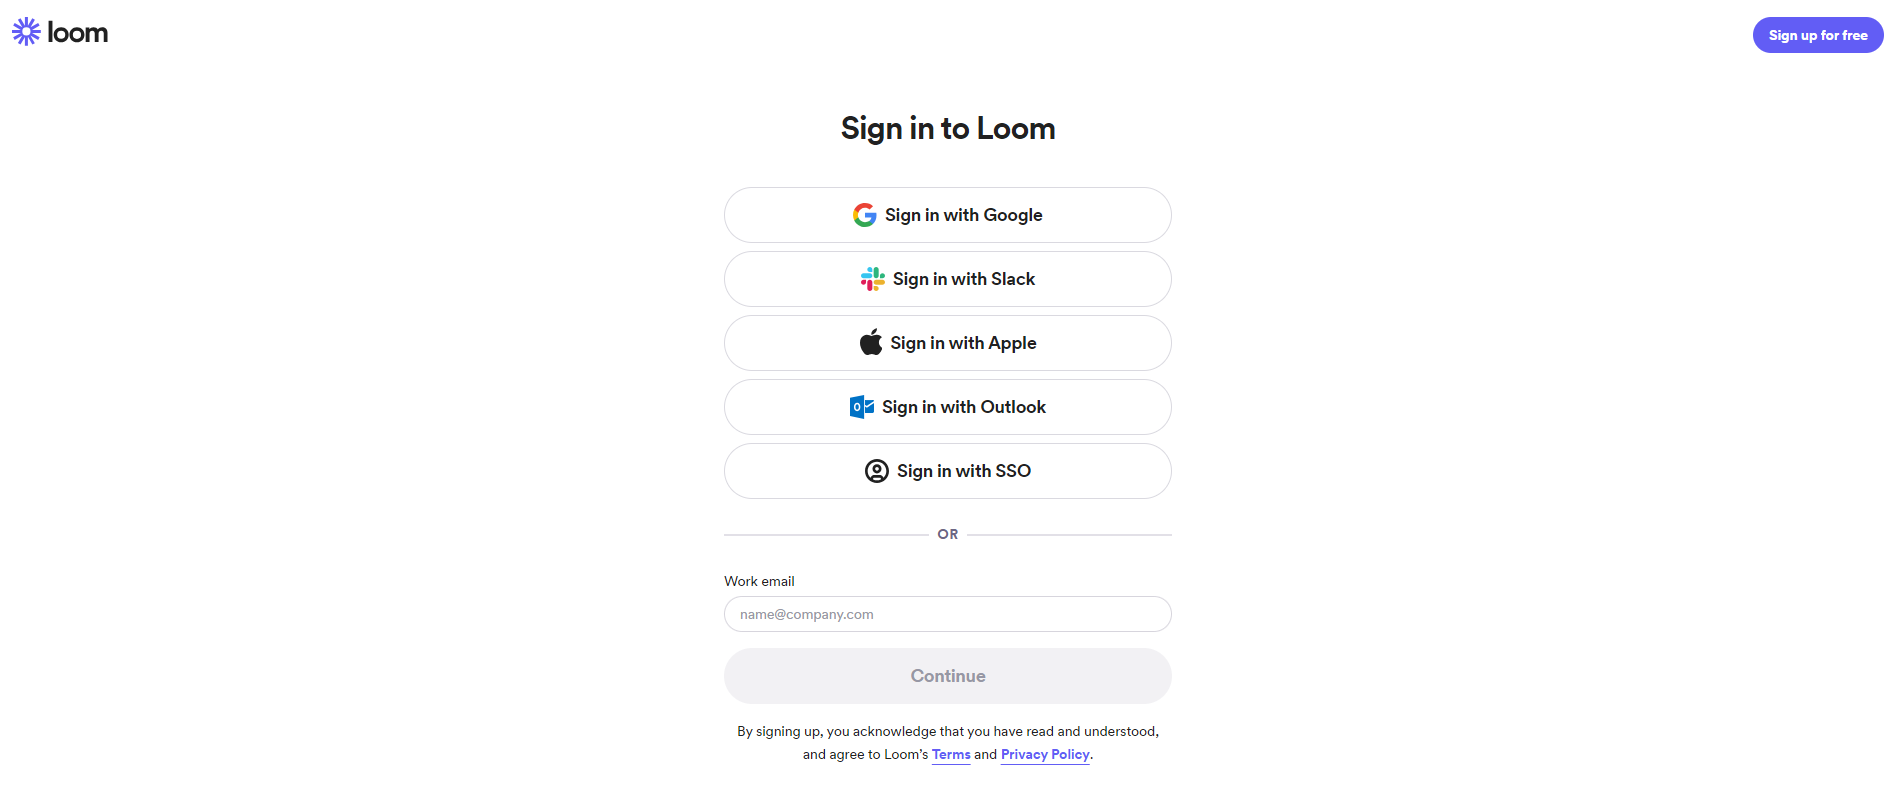
3. Log into your account from your Loom for Windows desktop app. You can log in using credentials in Google, Apple ID, Slack, or a third-party single sign-on (SSO) tool.

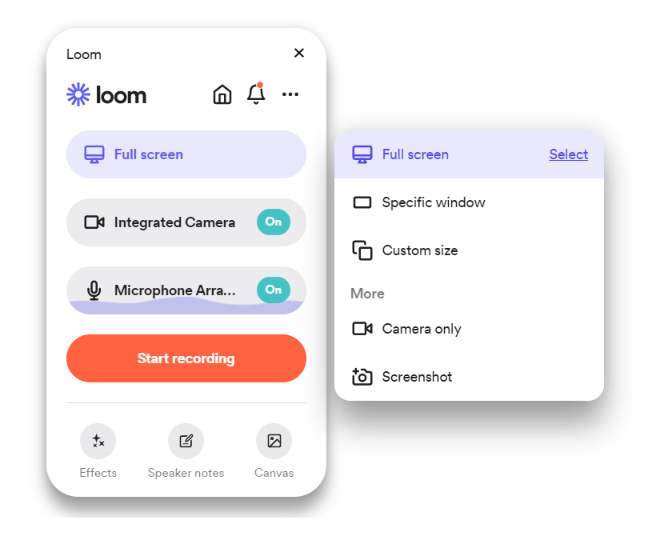
4. Select the type of video you’d like to create:
Full screen
Specific window
Camera only

5. Click the Record button (Start Recording) to begin your Loom.
6. When your video is complete, hit the Stop button in the toolbar to stop recording the session and save the file to your Loom account.
7. Make edits to your Loom using the in-app editing and annotation tools. You can add drawings, highlight the mouse motion, trim out unneeded footage, and polish the presentation for a clean, professional message.
Communicate more effectively with video messaging
Whether you're connecting with your team, your customers, or anyone else, recording your screen with Loom is a great way to collaborate and quickly share information. Loom is great for tackling everyday tasks more effectively:
Not only can you use Loom on a PC to deliver clear messages and feedback, but it’s also easy for recipients to reply to a Loom with time-stamped comments and emoji reactions.
Videos remain in your personal library, accessible for when you want to review them or share with other colleagues and contacts.
Loom's desktop app and Chrome extension are also available on Mac. If you’re on the go, our mobile apps help you record your iPhone screen with the Loom iOS app or the Android screen recorder.
Loom is the screen recorder that works wherever you work
Loom works just as well on your devices as on a desktop! The Loom iOS Screen Recorder app brings the power of Loom to your iPhone or iPad. You can record a standard screen and audio video, or an audio-only clip if screen presentation isn’t needed.
Android device users can use Loom right on a compatible phone or tablet with the Android Screen Recorder.
Loom is compatible with all iOS devices running iOS 15 or later, and Android devices running Android 8.0 and above. Communicate from everywhere.

